
We’ve been circling the Hardy Monument for months. Not literally — though there’s a certain irony in the fact that we’ve now walked to it from three different directions without ever properly walking around it. The Valley of Stones brought us close. Upwey brought us up from the south. Yesterday, finally, we did the thing properly and walked the nar 10k Mile Hardy Monument Loop — all 5.96 miles of it, 863 feet of elevation, Nellie in tow, on what turned out to be one of those high-summer Dorset days that makes every field look like it’s been laid out for a painting.
The short version: it’s brilliant. The longer version is that it’s brilliant with a few edges that need smoothing — which is exactly what we needed to know.
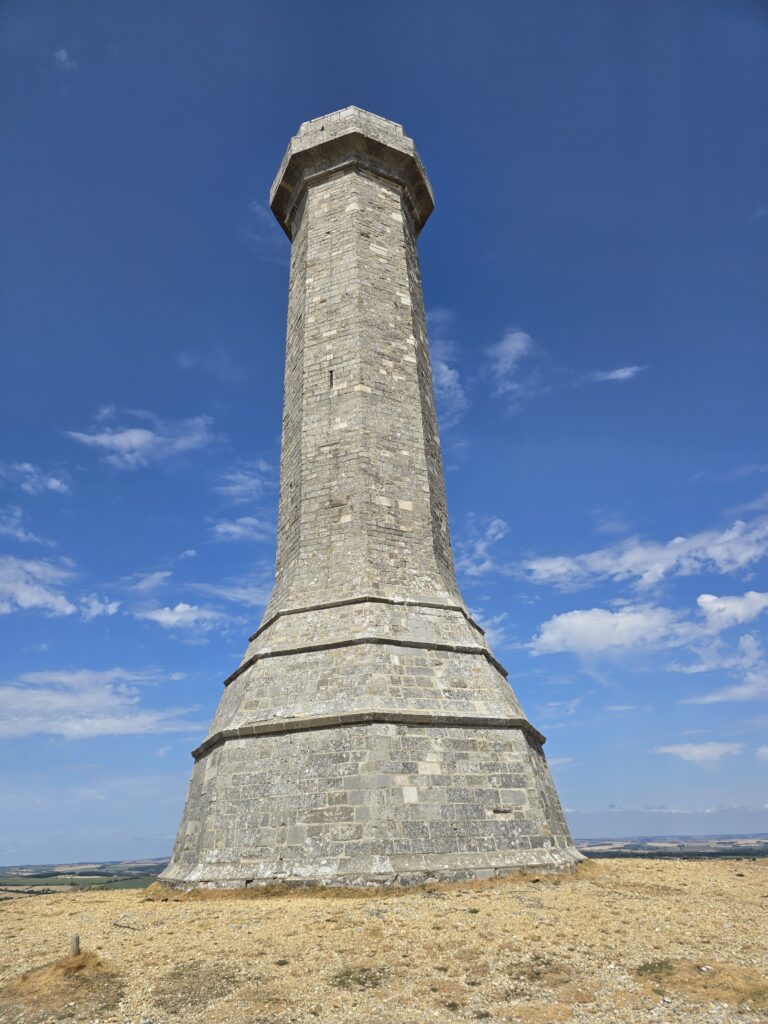
Hardy Monument close up, looking up the full height of the column. Portland stone detail.
The monument itself
If you’ve driven the B3159 between Martinstown and Abbotsbury, you’ve probably glimpsed it — a tall stone column on the ridge, visible for miles in most directions and easily mistaken for a lighthouse if you don’t already know what it is. From below it looks like a pencil sketch of a tower. Up close, it’s something else entirely.
The Hardy Monument was built in 1844, five years after the death of Vice Admiral Sir Thomas Masterman Hardy — and here’s the thing that trips people up every time: this is not the Thomas Hardy. Not the one who wrote Far from the Madding Crowd and set half his novels in this exact landscape. That Thomas Hardy was born twenty-one years after this Thomas Hardy died, and though both men are thoroughly embedded in Dorset’s story, only one of them has a 72-foot column on the highest point of Black Down.
Vice Admiral Hardy was Nelson’s flag captain at Trafalgar. He was born in Kingston Russell, not far from here, and he was the man beside Nelson when he died. “Kiss me, Hardy” — or “Kismet, Hardy,” depending on which account you prefer and how romantic you’re feeling — were among the last words spoken aboard HMS Victory on 21 October 1805. The monument was built by public subscription. An octagonal column of Portland stone, sitting at around 771 feet above sea level, and on a clear day — which yesterday absolutely was — you can see the sea in almost every direction.
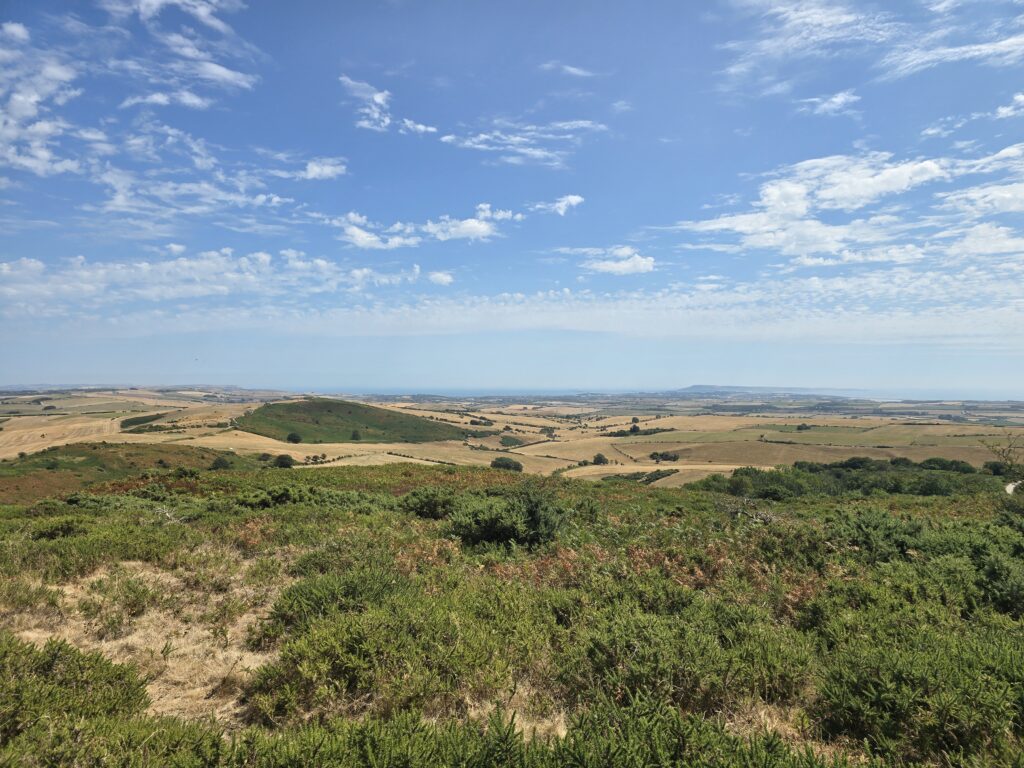
Wide coastal panoramic from high on Black Down. Sea from Abbotsbury to Portland. Fields gold and patchwork.
The view
It goes further than you expect. Standing at the top of the approach, the coast reveals itself in one sweep from Abbotsbury around to Portland Bill — the Fleet lagoon catching light on one side, the Isle of Portland sitting solid and grey-white on the horizon. In between: field after field of midsummer gold, the kind of dry, harvested palette that Dorset turns into in late July. Colmers Hill just visible to the west. The English Channel beyond.
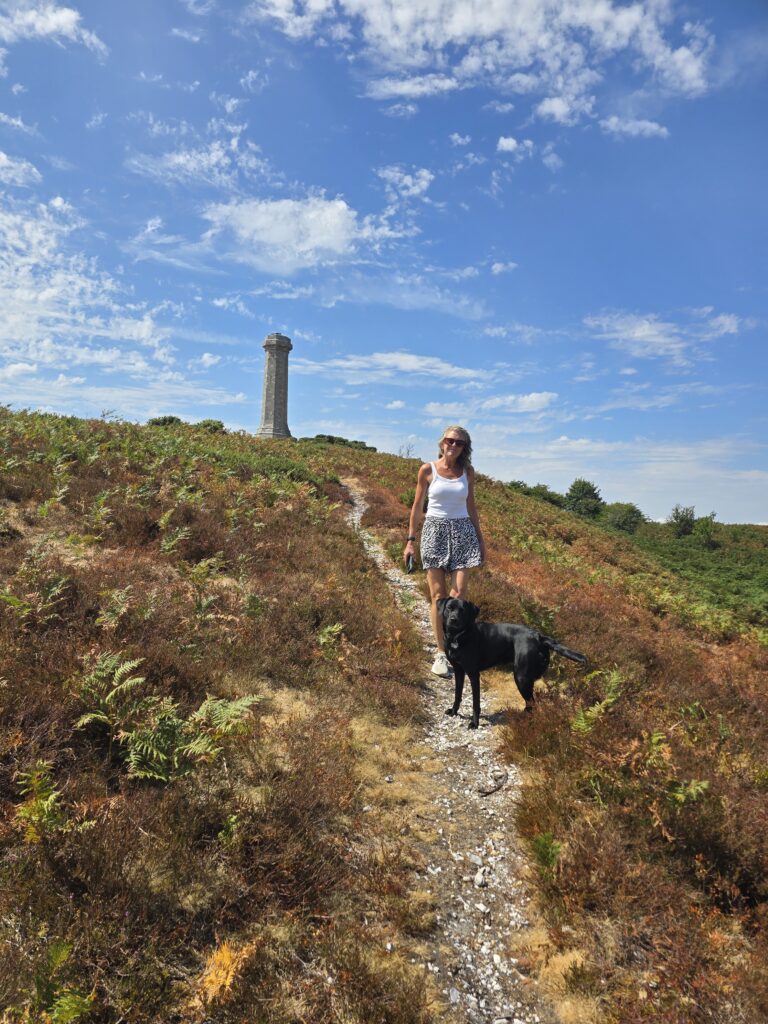
Sarah and Nellie on the heather and bracken path, Hardy Monument on the hill above them. Blue sky, summer colours.
This is the view that makes the climb worth it — and the climb, to be clear, is real. 863 feet of elevation gain across under six miles means this is not a stroll. Nellie, to her credit, took all of it in stride.
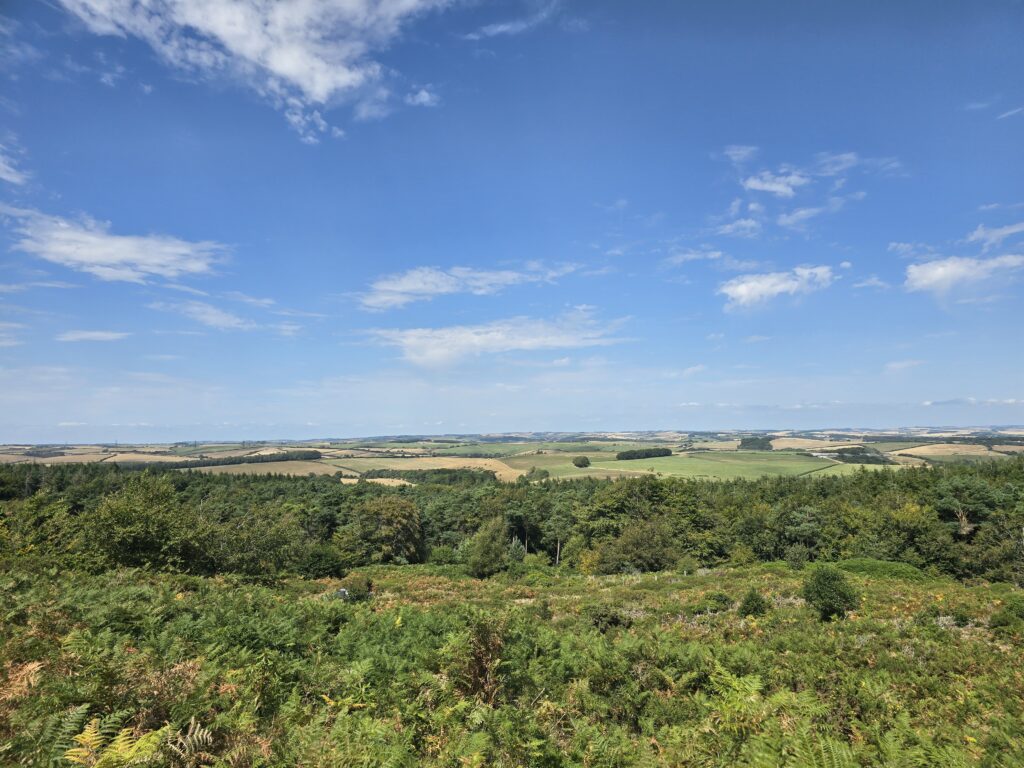
View inland looking north. Dense green forest, fields beyond. Different character entirely from the coastal panorama.
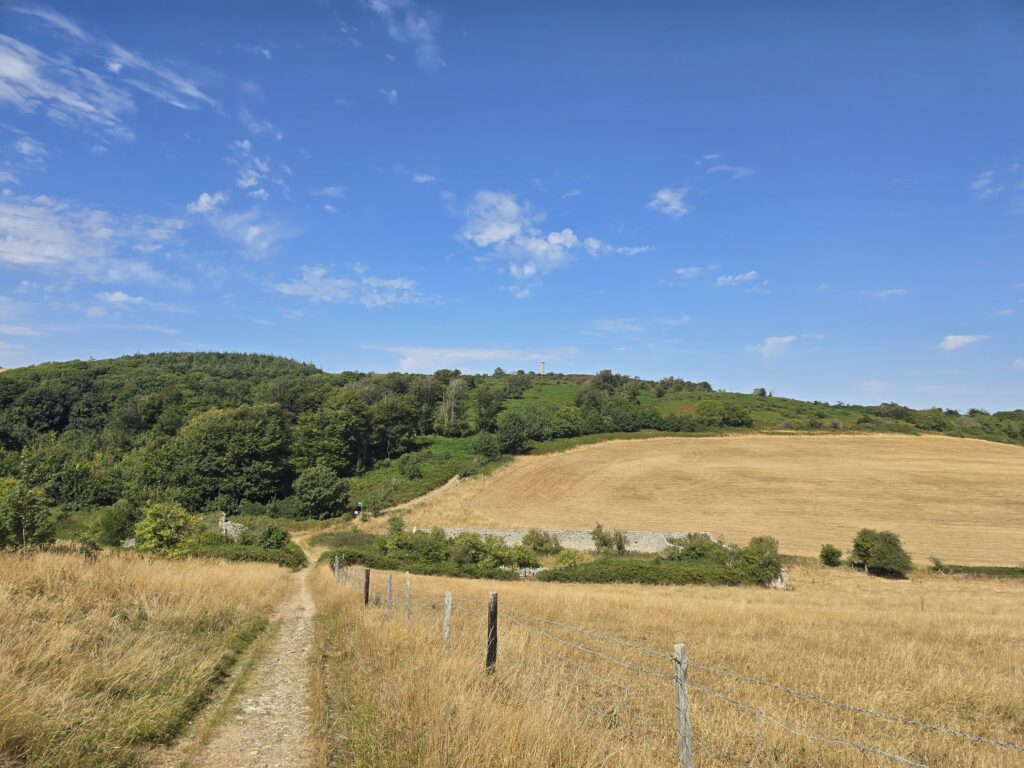
Track through golden-grass field with stone wall ruin. Hardy Monument visible as a tiny column on the skyline ahead.
The route
The 5 Mile Hardy Monument Loop starts and finishes at the National Trust car park near the monument — signed, well-known, busy on a summer afternoon. From there it drops south and east, following tracks across open farmland and through a network of field paths before looping back up to the ridge via Waddon and the lower slopes. The South Dorset Ridgeway runs through the upper section, and the combination of wide chalk tracks and open heathland gives the route a distinctive character — very different from the enclosed, wooded paths further west toward Bridport.
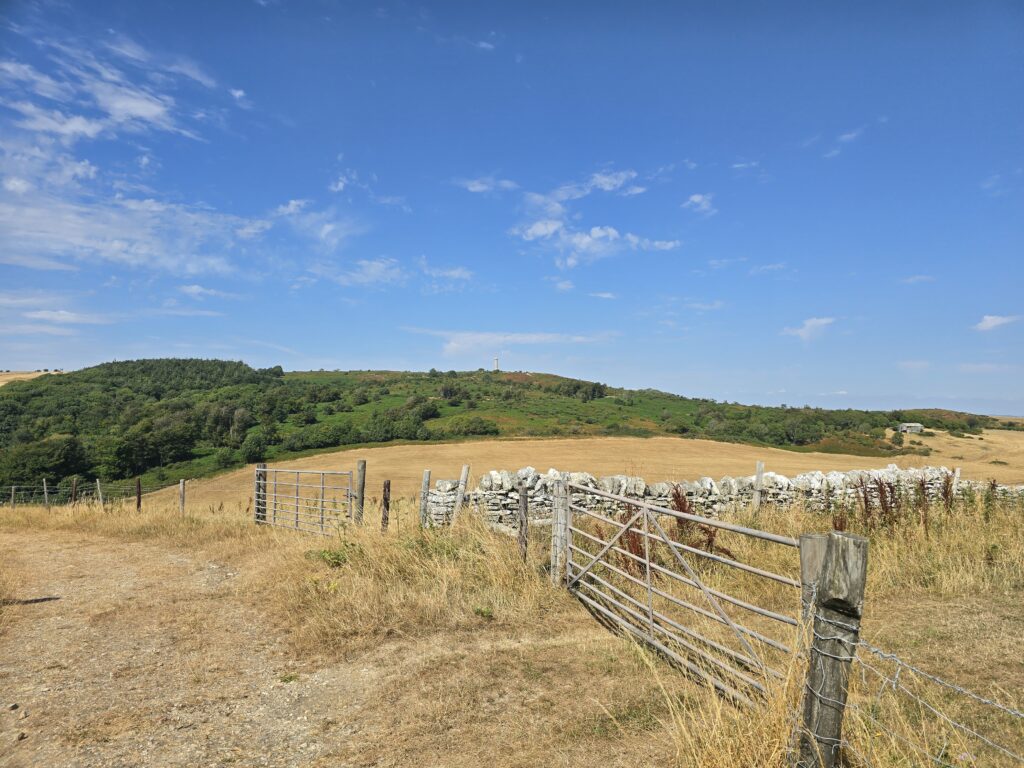
Metal farm gate in the foreground, dry stone wall. Hardy Monument visible on the hill in the middle distance.
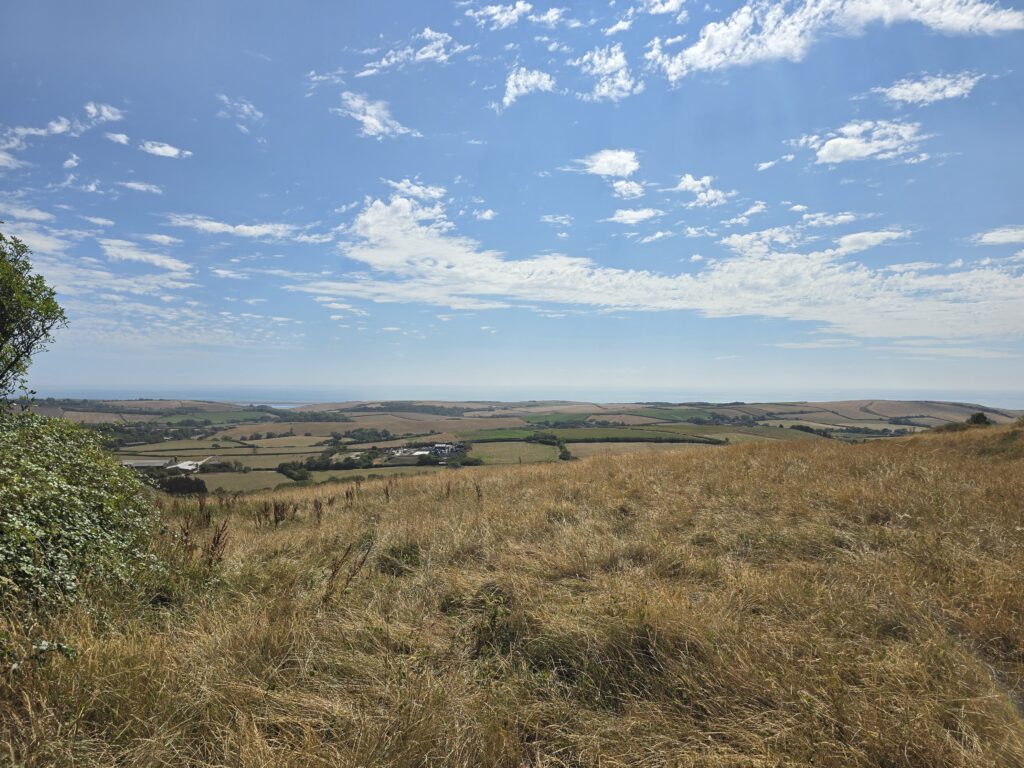
Coastal view from the lower path. Tall dried grass in the foreground, sea on the horizon.
At various points the route hands you a new angle on the monument. First a tiny spike on the skyline, then a column, then a landmark you’re clearly climbing toward. It’s the kind of geometry that gives a walk its shape. You always know where you are in relation to where you’re going, which is either reassuring or mildly relentless depending on your mood.
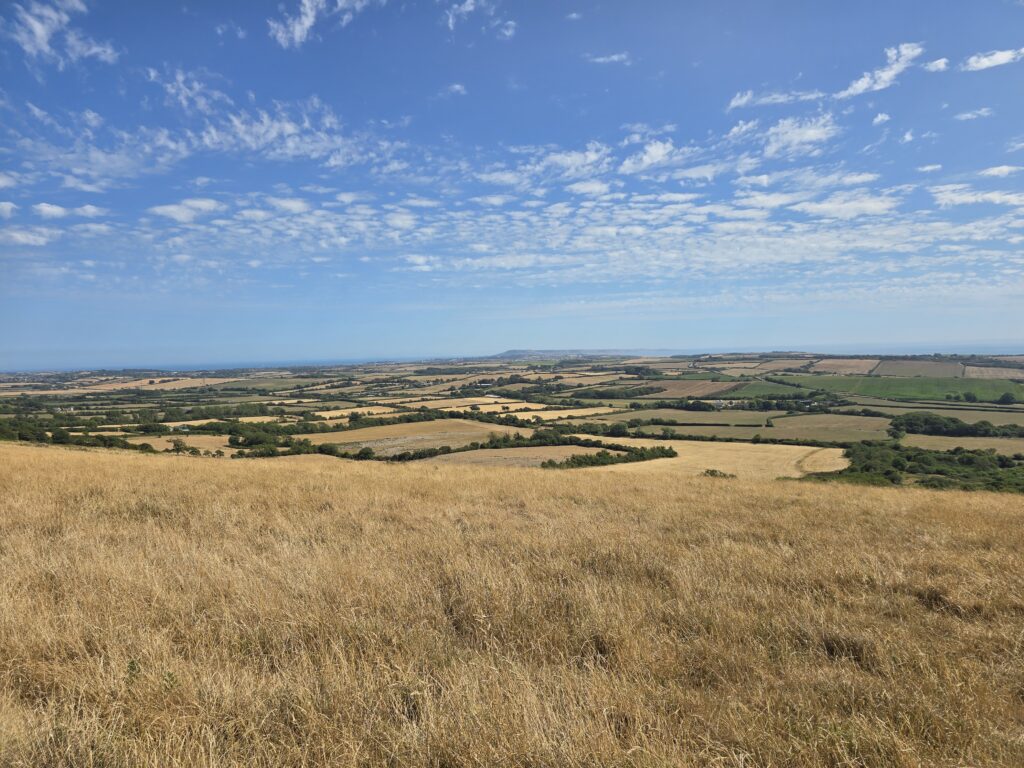
Wide patchwork of fields toward the coast. Hedgerows and trees. Very English.
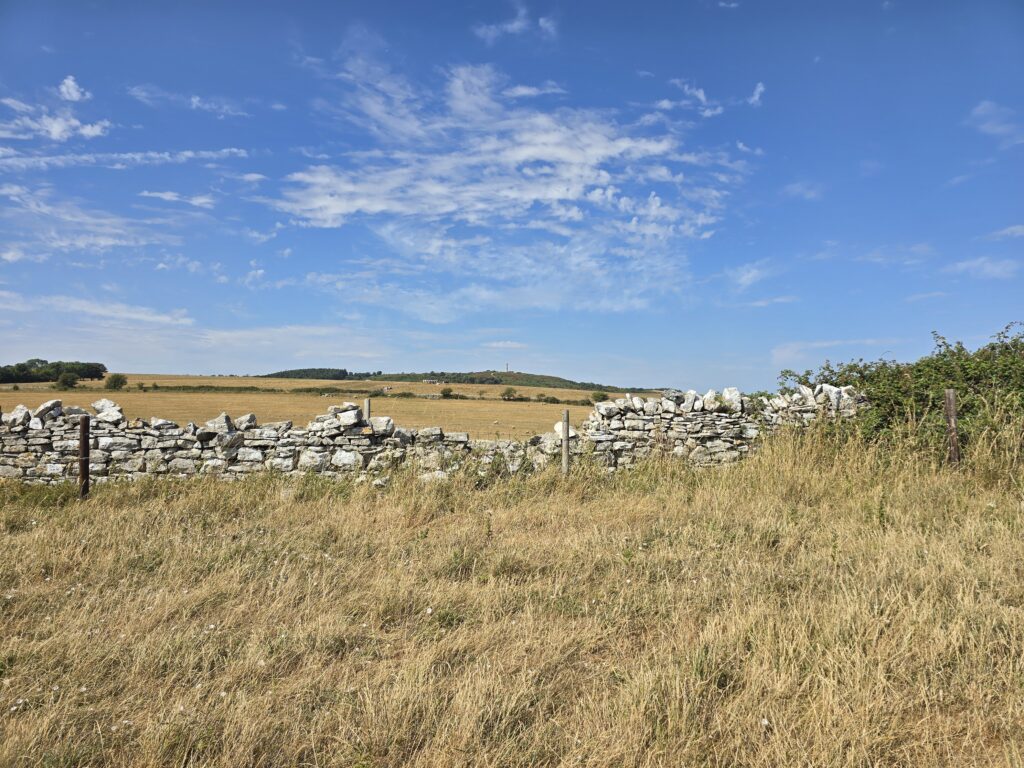
Dry stone wall with a gap. Hardy Monument tiny across flat golden field.
The signage is decent. The South Dorset Ridgeway waymarkers are consistent, and the Hardy Monument Trail has its own blue circular markers — a compass rose design — at the key junctions. The yellow Dorset County footpath arrows handle most of the lower sections.
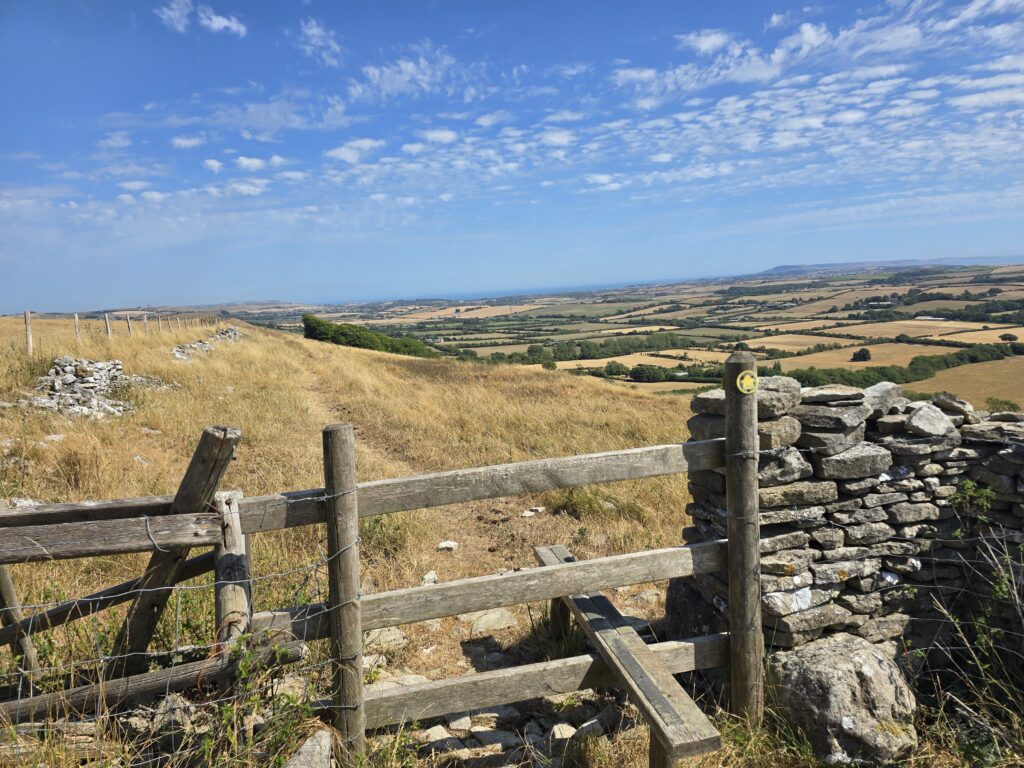
Stile in dry stone wall, yellow footpath arrow on post. Coastal panorama behind.
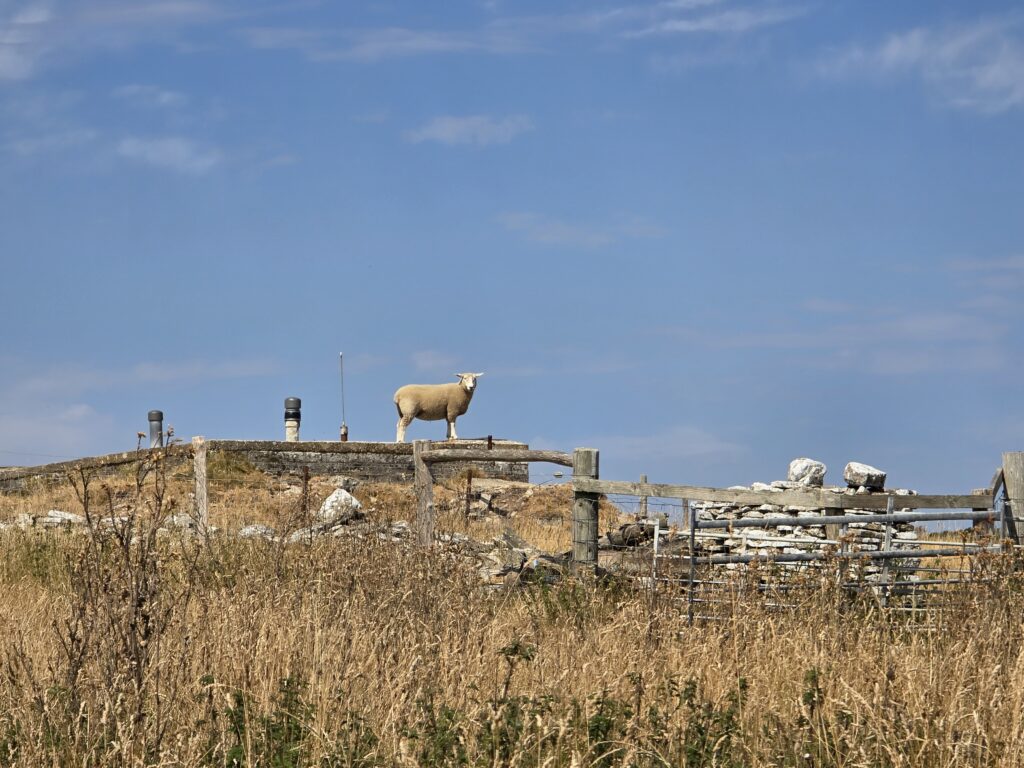
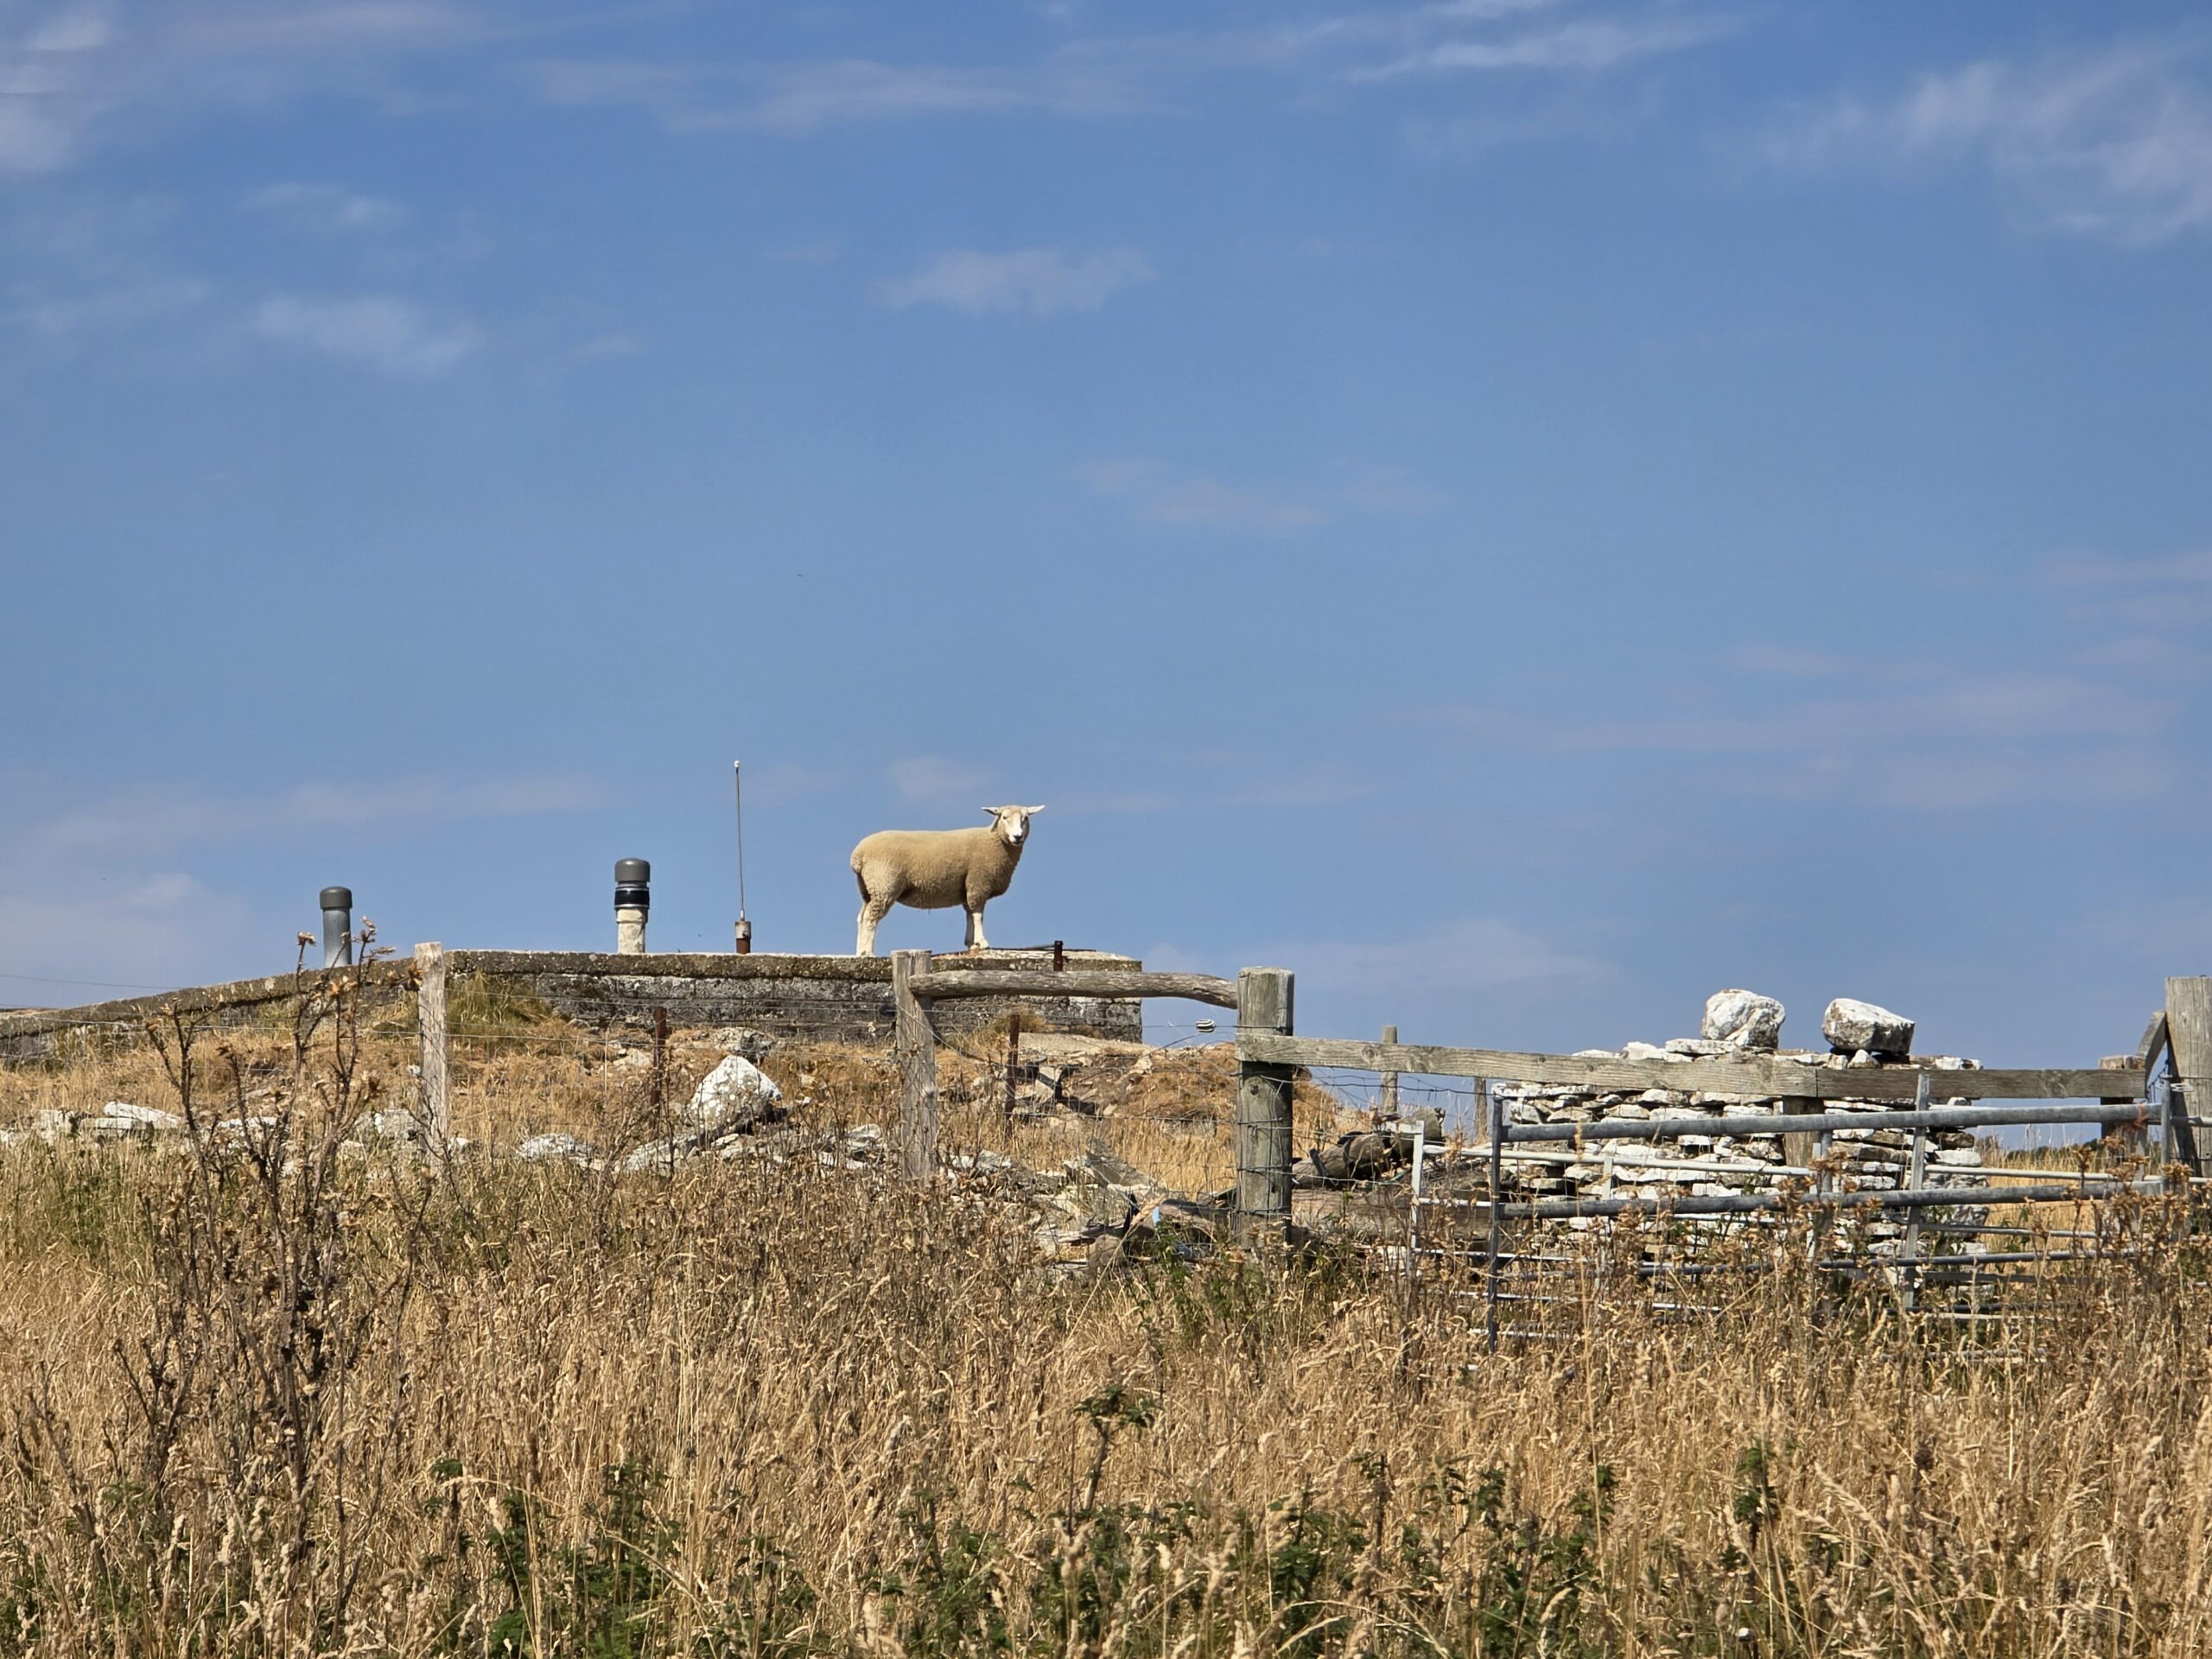
A single sheep standing on top of a low concrete structure, set against blue sky. It is very much in charge of the situation.
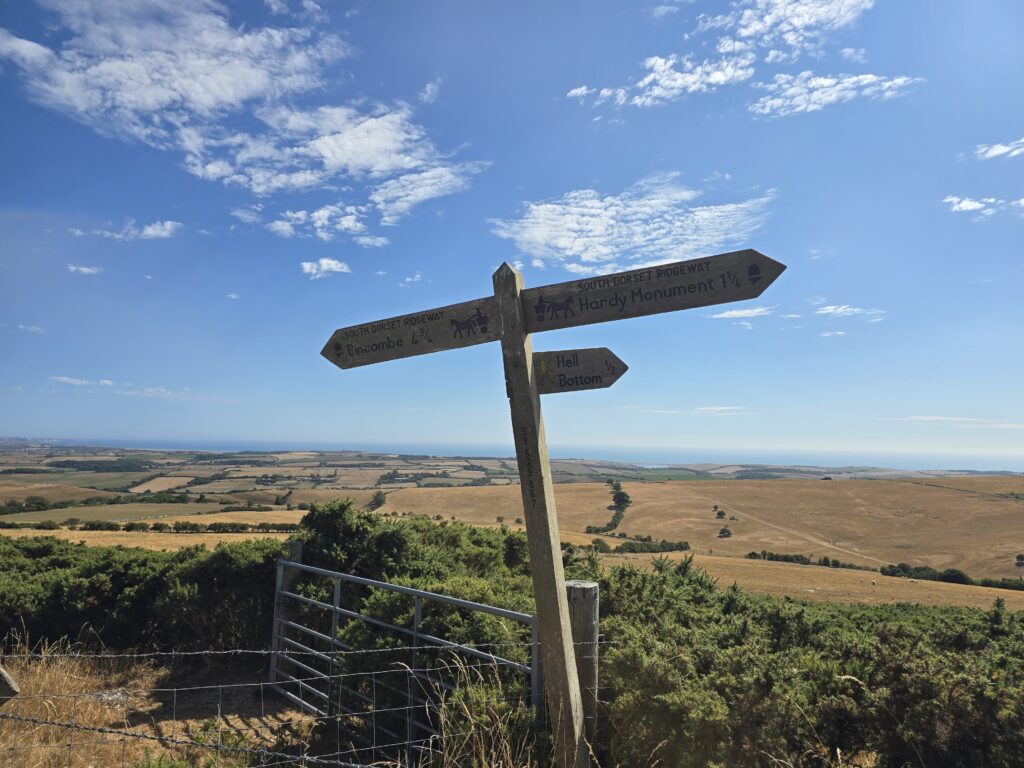
South Dorset Ridgeway signpost: Hardy Monument 1¼ miles, Bincombe 4¾, Hell Bottom ½. Sea behind.
Hell Bottom, half a mile. We did not investigate Hell Bottom. We want it on record that we were tempted.
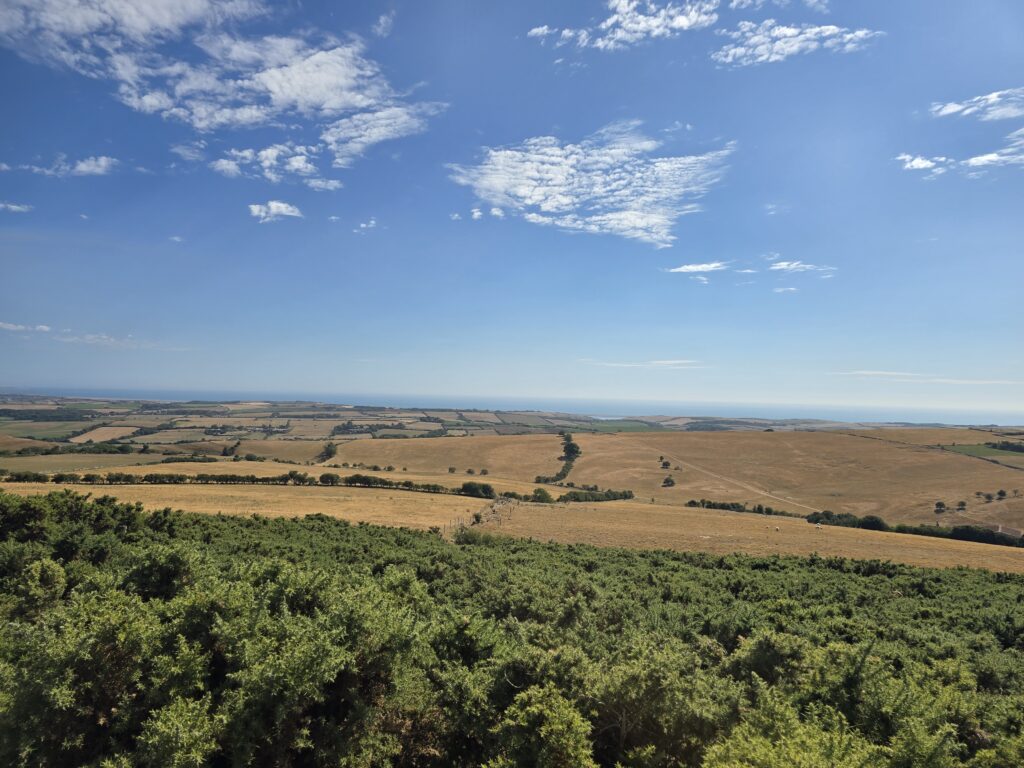
Wide coastal view from heathland. Gorse and bracken in the foreground. Sea beyond.
An honest word about the gorse
There are sections of this route where the path narrows and the gorse closes in on both sides. In July, in shorts, this is an occupational hazard rather than a disaster — but legs did not emerge entirely unscathed, and there were one or two pinch points where the correct line was genuinely unclear and the vegetation was doing nothing to help.
We’re flagging this because the 5 Mile Hardy Monument Loop, as marked, has real potential — but if we’re thinking about bringing a group through here, we’d want to walk a slightly adjusted line on the upper section that avoids the worst of it. The bones of the route are excellent. The gorse just needs a rethink.
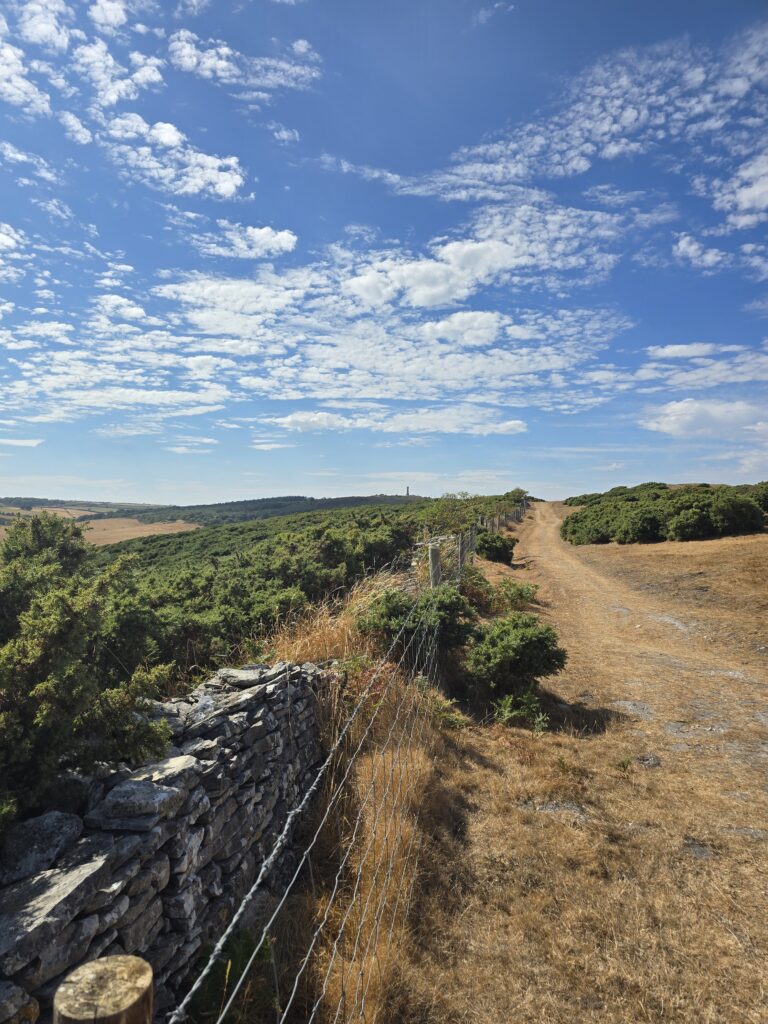
Chalk and gravel path with dry stone wall along the left, gorse on the right. Hardy Monument visible far ahead on the ridge.
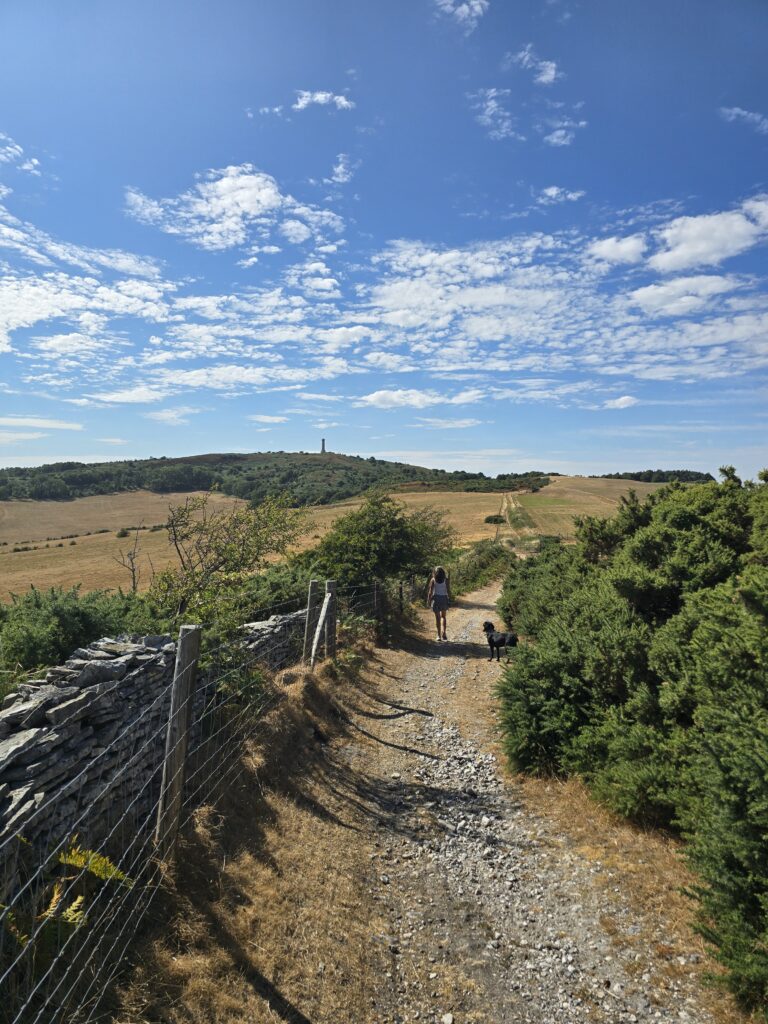
Sarah and Nellie from behind, walking the ridge path. Monument in the middle distance, fields on both sides, big sky.
The dry stone walls are a running theme throughout — tumbledown in places, perfectly maintained in others, always doing something interesting with the light. The route is scenic in every direction, not just at the top.
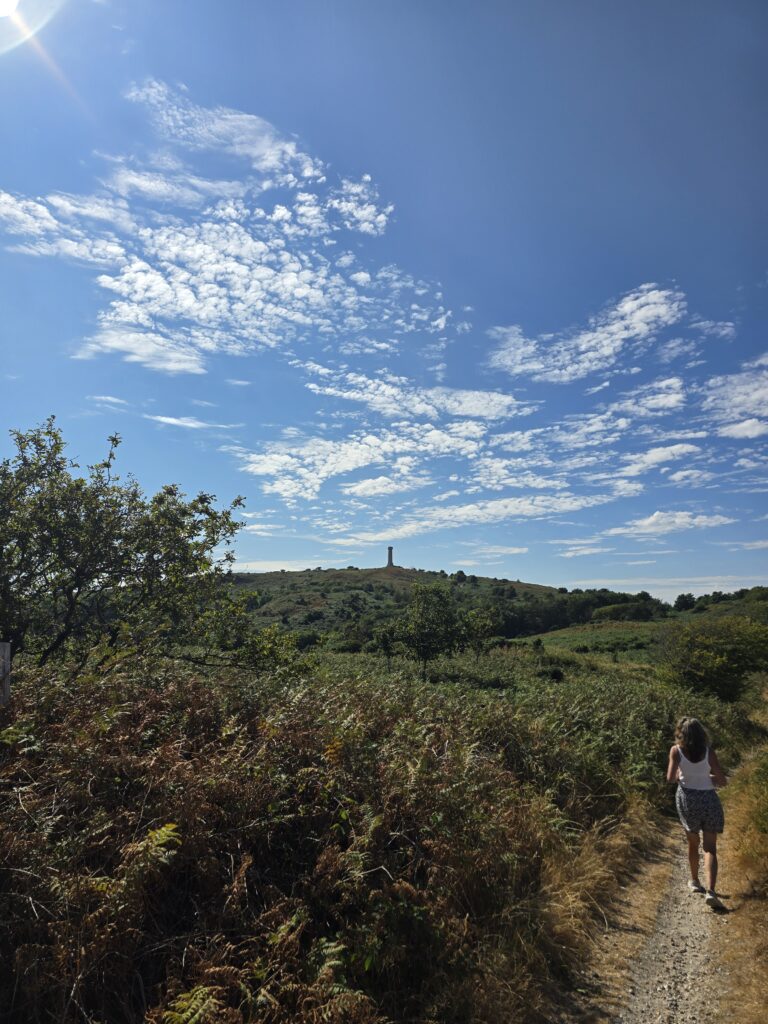
Sarah walking away from camera toward the monument, sun catching her from behind. Ferns and heather, monument as silhouette ahead.
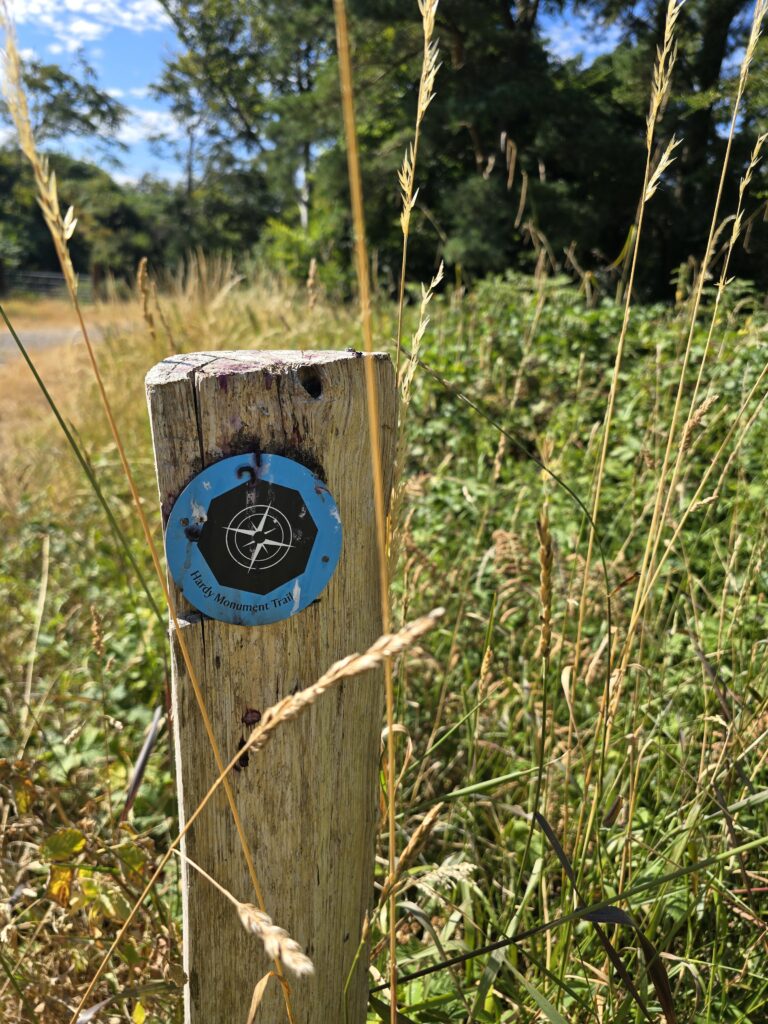
Hardy Monument Trail blue circular marker on a wooden post. Compass rose design, Hardy Monument Trail text.
The stone installation
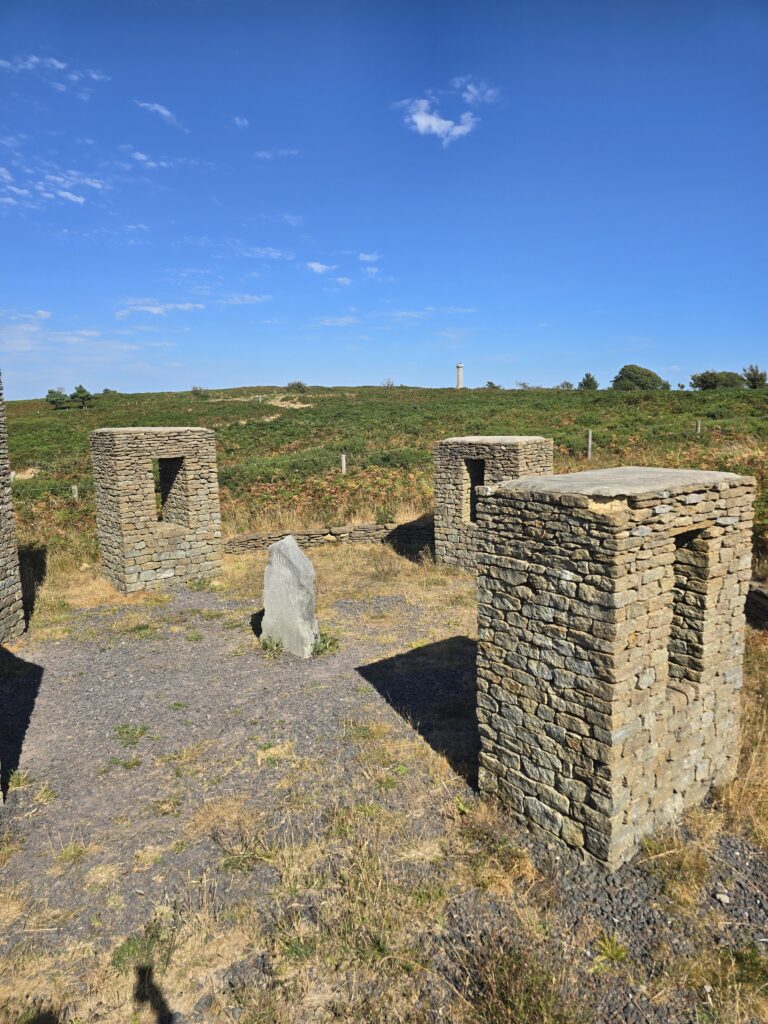
Several dry stone structures arranged around a standing stone, near the monument summit. Window-shaped openings in each. Monument visible behind on the hill.
Just below the monument, as you approach the summit area, there’s a stone installation — several dry stone structures arranged around a standing stone, each with a rectangular window opening. We haven’t pinned down exactly what it is, but it reads as seating, or a viewfinder installation of some kind. Whatever the intention, it’s made from the same material as the field walls, which makes it feel like it belongs here rather than arrived. Worth knowing about if you want to sit with the view for a while rather than simply pass through.
What this might become
We walked this specifically because it’s been sitting on the possible list for Thinking Out Loud Runners for a while. High enough to feel like an achievement. Open enough to keep a group together. The monument as a shared focal point, and a history worth telling at the top — always useful when you’re trying to keep a conversation going without making it feel like a guided tour.
The adjustments needed aren’t major: a slightly different line through the gorse-heavy section, a clearer note in any route description about the pinch points. But as a candidate for a group walk — yes. This one stays on the list.